‘John the Panel!
Who am I, where did I come from and am I qualified to write this blog?
Well, at the moment, I’m nearly 72, retired and living in the North of England.
It all started back in 1947 in Plymouth, born to a hard working married couple. I left home at 15 years old and joined the Army as a boy soldier in the Royal Electrical and Mechanical Engineers. It was the best thing I ever did.
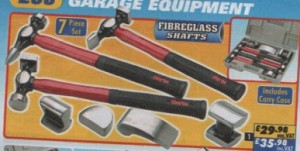
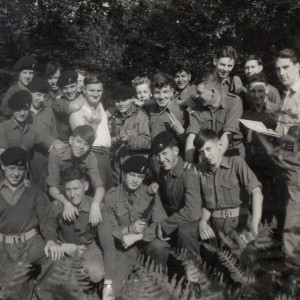 Recognise yourself here?
I was able to finish off my basic education, scuba dive, climb mountains, hike impossible distances accurately, play rugby and athletics at county level, gymnastics, play musical instruments in the Corps of Drums, find out about girls, and, in general, have a wonderful time.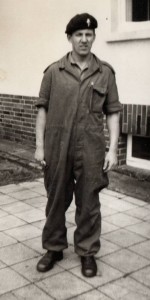
One of my first postings was to Operation Crown in Thailand as a clerk. This was my first introduction to vehicles and where I learned to operate and drive a myriad of construction vehicles and plant. This was a love affair I would build on throughout my 15 year military career.
I left the Army in 1977, conduct “Exemplary”, having been trained as a Clerk, learned how to drive and mechanically repair a host of different vehicles, including tanks and armoured cars, and having achieved and relinquished the rank of sergeant (for love). They also taught me how to be a welder on my resettlement course.
I had achieved a good educational standard and believed I was well fitted for the outside world. I couldn’t have been more wrong.

Charlie Farrington was an artisan of the old school. There seemed to be nothing he didn’t know something about. He was a skilled painter and decorator, builder, chippie, plumber, plasterer, panel beater, car sprayer, in fact, jack of all trades and master of many and a man who had taken me under his wing to train me in my new career as a panel beater and sprayer. Why would he do that you might ask? To make sure his new son-in-law would be financially able to look after his daughter and their new son Alexander!! that’s why.
He was a hard taskmaster and the next few years were difficult. I was on apprentice wages in London and it was a struggle, but as they say, “the only way is up”. I learned how to be a competant panel beater and sprayer, working on Ford Cortinas for Wimpy Hamburgers Head Office, Lancia Stratos’ and other sports cars for Chequered Flag Motors, Ferraris for Fax Dunn(Marinellos London Works), Daimler Limousines for J. C. Leat, Rolls Royce and Bentley for Paddons of Knightsbridge, British Leyland luxury cars for Leo Burnett Advertising, Aston Martins, Porsches, Minis, Ford Sierras and a host of others.
Eventually, our premises in a lowly railway arch in Stamford Brook became too expensive and small for the amount of work we had coming in. We moved to a larger premises in Farm Road, Fulham, where a chance encounter with an old army mate would change our fortunes.
My job had now become sort of managerish. With my clerical experience in the army I had become the one who sought out the work and brought it through the door, doing a lot of the estimating and paperwork as well as working on the shop floor when required. One day whilst strolling along Chiswick High Road I bumped into an old army mate, Wally Wotton whom I’d served with in Thailand and Lybia. After shaking hands and asking after each other he asked me where I was working. On being told he said, “You’ll be getting our work then”. It turned out he was the workshop foreman for Frank Dale and Stepsons, Rolls Royce Dealers!!! We would be eternally grateful to him.
Within days, as well as dealing with our established customers we had a whole host of exotic vehicles in our workshop.
Thanks to Charlie and Mel, we also had the necessary skills to deal with this type of work. As we were dealing with sometimes vintage and veteran Rolls Royces, Bentleys and other exotica, there was a lot of aluminium and steel fabrication, fusion welding, ash framing and lead loading to be done.
In my capacity as Estimator and Manager I sometimes had to calculate the cost of trimming the interior of vehicles. Frank Dale & Stepsons, in the interests of reliable quality, used the services of a superb local trimmers called “Strong and Turton”. I spent a few hours each week in their workshop, learning just what it took, and what it cost, to trim a vehicle.
Working in this environment took its toll. I was working 80 – 90 hours a week, only seeing my family on Sundays. My married life suffered.
We decided to move to Plymouth in 1984 in search of a better quality of life for our growing family, but it meant starting again at the bottom.
From 1984 until 1987 I worked for a host of different bodyshops – Ford, Mercedes, GM, BMW, Volvo, always moving on for a better salary and working conditions. I became conversant with most of the body jigs and spray booths on the market and carried out car body repairs to the high standards required by the motor industry.
In 1987 I moved back into management, designing, helping to develop, and subsequently running the Mazda Bodyshop in Plymouth. I obtained the Police contract amongst others and the General Accident Motorcycle repairs – this involved plastic welding and Pearlcoat applications.
After the demise of the Mazda Franchise, I was asked by the Ford Main Dealer in Newton Abbot to help their failing bodyshop. After six successful months there I’d had enough of commuting and started my own restoration workshop in my home town of Plymouth. A year later I was headhunted by Astra Training Services to run their Body Repair and Spray painting department. As my lease was about to expire without renewal I was happy to move into a less stressful environment (yeah right!!)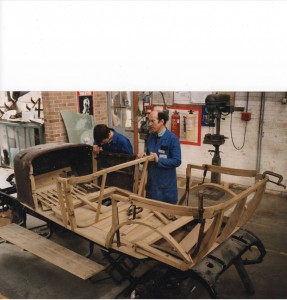
I entered the training environment at a time of change. City and Guilds qualifications were going to become National Vocational Qualifications(NVQs). As I had neither I was required to take the then only qualification for Panel Beating and Spraying, City and Guilds 385. On successful completion I was then required to take C&G 7281(Training and Development) which had the sub units D32 – Skills Assessor, D33 – Vocational Assessor, D34 – Internal Verifier, andD36 – APL Advisor(Accreditation of Prior Learning). With these qualifications I was then able to teach any subject I had a recognised qualification in. I then obtained NVQ’s at Welding Level 2(Q1011122) and Engineering Level 2(Q1013557). While I was at it I also obtained the NEBOSH – National General Certificate qualifications, CLAIT(Computer Literacy and Information Technology) Level 1, Grinding Wheels , and Paintless Dent Removal.
I also had the privilege of writing the then new NVQs for Body Repair and Spray Painting from the Lead Body Standards(IMI) and assisting City and Guilds Institute in their compilation.
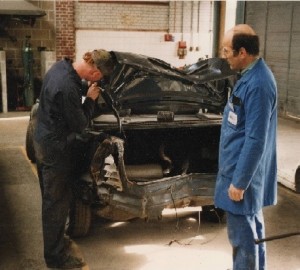
At the same time as this was going on I was teaching unemployed men and women how to become successful, qualified, panel beaters and sprayers. I also had the satisfaction of teaching Marine Projects/Princess Yachts(based in Plymouth) apprentices the basics of Fibreglass techniques, British Aerospace technicians the complexities of accurately applying conformal coatings to printed circuit boards, and British Telecoms employees how to spray satellite dishes at Goonhilly Satellite Earth Station(a slight exaggeration, sorry British Telecoms). I was also the COSHH officer, Health and Safety Officer, Disability Employment Officer, and subsequently Employment Officer and Placement Officer.
Whilst this was going on I was making replacement panels for MGs, Jaguars, Fiat X19s, Morris Oxfords, Porsches, Bentleys, Ford Consuls and many others at home using jig techniques that I will share with you later in my blog.
Guess what, I left there due to an unacceptable change to my terms and conditions, and also because I was back up to the old 90 hours a week thing, only seeing my family at weekends.
Since leaving the training industry I made a catering trailer for my wife, a tipping, extendable trailer for me, worked as a Commercial vehicle fitter, built a Mercedes Sprinter Camper, worked as a central heating engineer and general handyman and subsequently moved to France to work at self sufficiency with my wife of many years.
Do I have the skills and experience to write this blog and answer your queries? I hope so. Charlie is no longer with us to back me up but hopefully I have his legacy in my head with other things I’ve picked up along the way.
I shall be writing about:
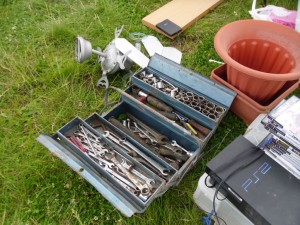
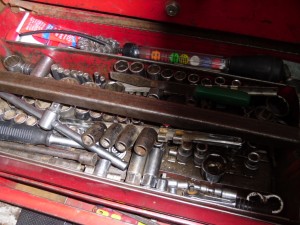
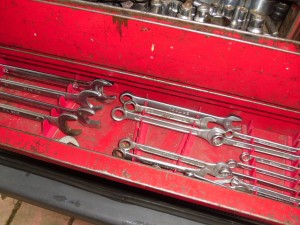
- Basic toolkits for pennies (cents, centimes etc)
- Basic Skills for Panel Beating
- An introduction to spray painting including compressors
- How do I make my repairs look professional
- Advanced(ish) panel beating
- Air Tools
- Basic jigs and how to make my own
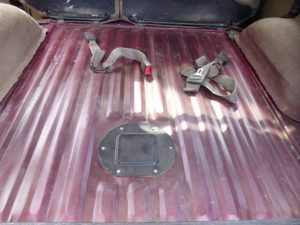
- How to make a Landrover rear floor
- How to make replacement floor pans
- How to make a folding machine for sheet metal
- How to make a lead press
- Welding techniques in oxyacetylene
- Arc Welders
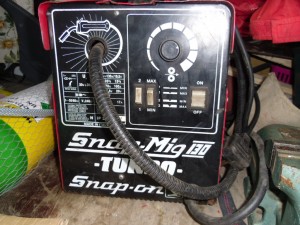
- Mig Welders and how to use them
- Tig Welders
- How to make a multi purpose 2 ton extendable car and tipping trailer for under £500
- Advanced spray painting
- Making a Van/Camper Side Locker
- Solar Panels, Inverters and associated equipment
- Free camping
- How to deal with prostate cancer
Should you have any questions, observations, helpful hints, similar projects that can be included in my blog please don’t hesitate to contact me. All queries will be answered in the blog and any articles that are included will be acknowledged. The above list is not exhaustive and I reserve the right to amend it or add to it as I go along.
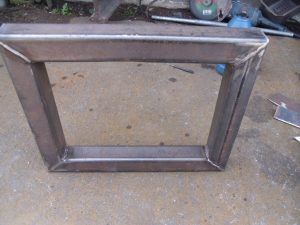
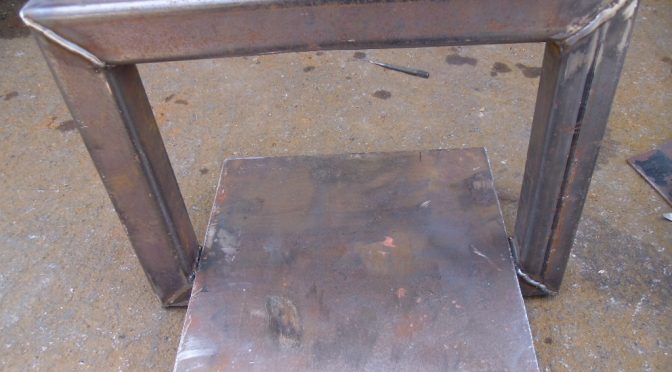
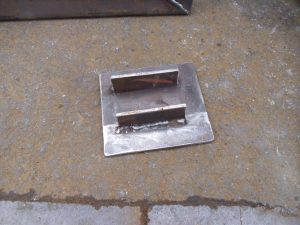
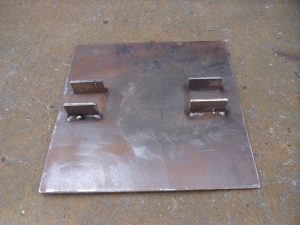
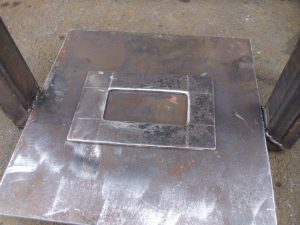
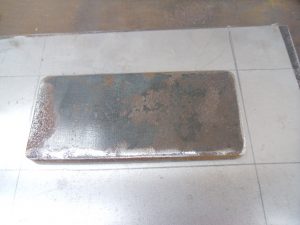 a simple rectangle of steel plate which needs to be as thick as the raised section of the panel. Fortunately my 2.5mm plate was ideal. You don’t need complicated oxy~acetylene equipment to cut the steel plate. An angle grinder fitted with a thin cutting disc will do the job just fine. Don’t forget the safety goggles and leather gloves and this might be just the time to invest in a chrome leather apron. I have seen many an expensive set of flameproof overalls ruined with the sparks from an angle grinder. Then we need to make the female part of the press tool. Note the centre punch marks to locate the male tool after the sheet is laid in position.
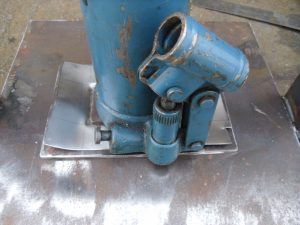
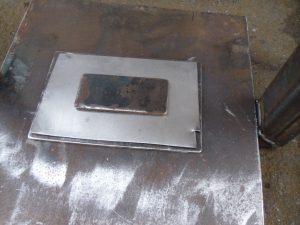 Here we have our bits laid on the working table. We then place the bottle jack with it’s base on the centre of the male part.
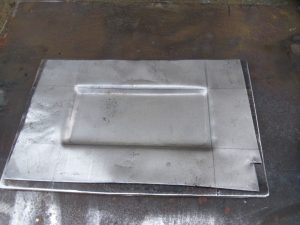
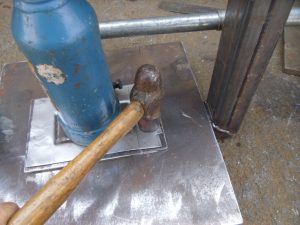 Once the desired shaped is achieved we release the bottle jack.
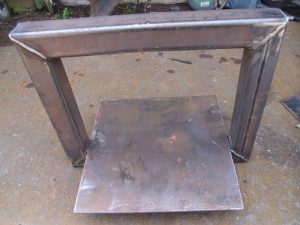
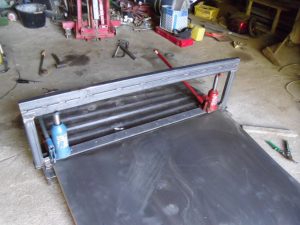 Note the reinforcing across the top of the picture frame


 Recognise yourself here?


