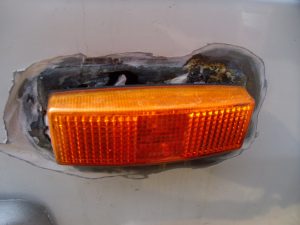
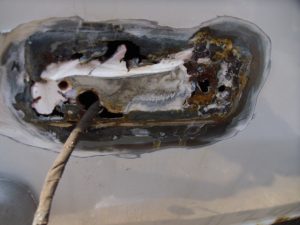
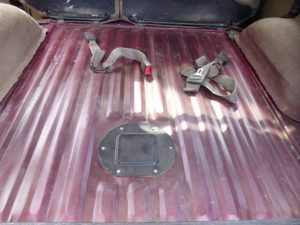
I’ve decide to start this post because I was refurbishing my campervan after the winter layup and I had to repair the area around one of my running lights.
See what I mean!
Basically, the lamp is mounted on a rectangular raised area in the lower half of the vehicle body. Because of its simple shape I felt it was an ideal time to introduce you all to what I call the “picture frame”. 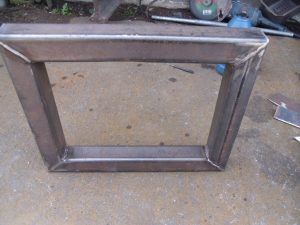
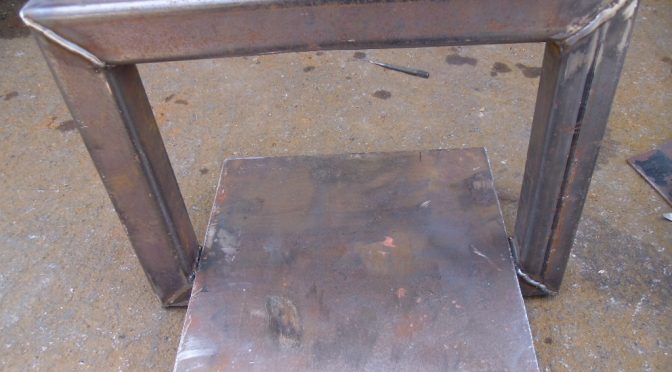
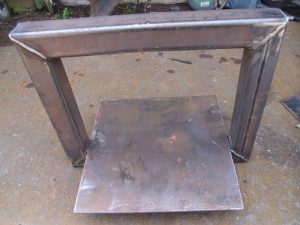
This is just a rectangular frame of 3mm box section 3cm square. I won’t go into the size of the frame because it’s generic and you’ll make your frames the size you need once you understand the principle. Next you’ll need a stand to make it upright:
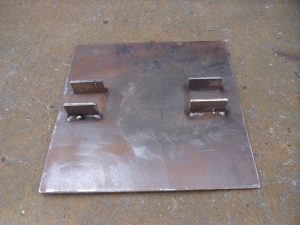
A simple bracket will suffice but it needs to be at least 2,5mm plate. Next you need a working platform
also in 2.5mm plate
This is the complete assembly. Please remember when building your “picture frame” that the hydraulic ram or rams you will be using (a simple bottle jack that may come with your vehicle, or can be purchased quite cheaply-you only need about 6 tons to operate your press) push in both directions so you might have to reinforce the top with another plate similar to the base stand.
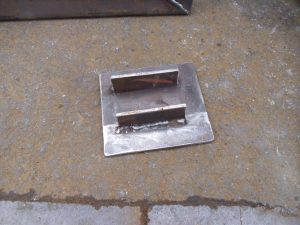
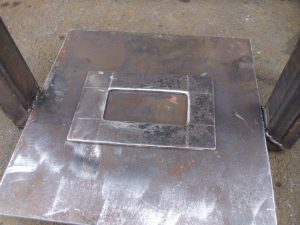
This is the completed assembly. All we need now is the two parts of our press tool. One has to be a male fitting and the other a female. This is the male fitting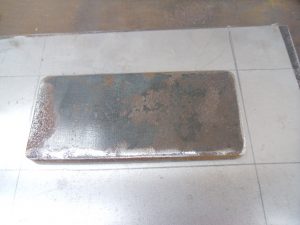 a simple rectangle of steel plate which needs to be as thick as the raised section of the panel. Fortunately my 2.5mm plate was ideal. You don’t need complicated oxy~acetylene equipment to cut the steel plate. An angle grinder fitted with a thin cutting disc will do the job just fine. Don’t forget the safety goggles and leather gloves and this might be just the time to invest in a chrome leather apron. I have seen many an expensive set of flameproof overalls ruined with the sparks from an angle grinder. Then we need to make the female part of the press tool. Note the centre punch marks to locate the male tool after the sheet is laid in position.
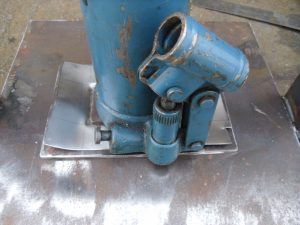
The male part of the tool corresponds to the top of the raised section required and the female section ditto with the base. If a production run is envisaged you would be wise to make another plate the same size as the female part and weld or bolt the male section to it. 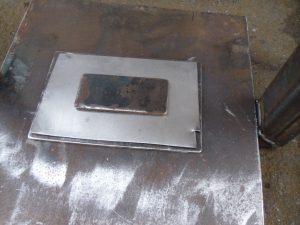 Here we have our bits laid on the working table. We then place the bottle jack with it’s base on the centre of the male part.
We then pump the jack. If we haven’t welded the cover plate to the male part any distortion of the compressed steel sheet can be removed by hammering: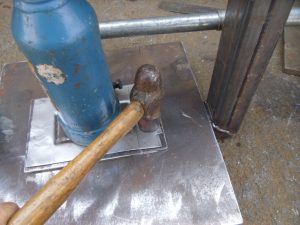 Once the desired shaped is achieved we release the bottle jack.
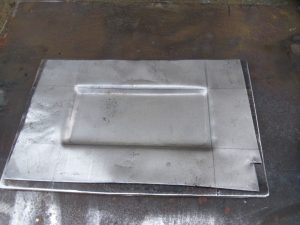
Just to show you how big you can go with the picture frame I’ve enclosed some pictures fron my ‘How to make a Landrover Rear Floor panel’ as yet to be written post: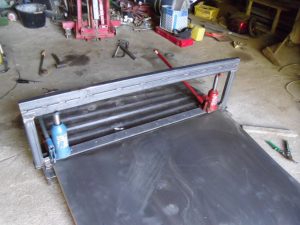 Note the reinforcing across the top of the picture frame
and the finished item:
